Here’s everything you need to know on how to make your own cheap homemade glass cleaner!
It goes without saying that if you have windows in your home, they’re going to get pretty filthy over time. If household glass only got covered with pollen and dirt, water alone would be sufficient to clean them.
However, windows also have a nasty habit of getting coated with a disgusting combination of smog and other airborne particles. When water interacts with this ungodly mess, it causes the grime to adhere more forcefully to the glass.
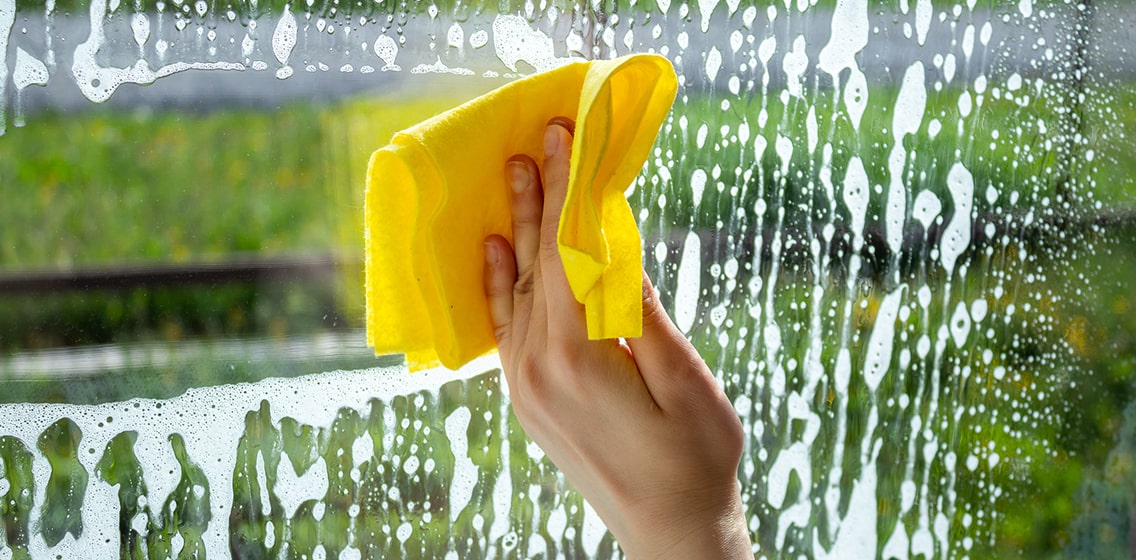
That’s why if you want to restore your windows to their previously pristine state, you’ll need a little extra help in the form of a cleaning solution. However, instead of using a store-bought cleaner to get your windows sparkling clean, consider making your own.
That’s because there are a ton of advantages to doing just that.
The Advantages of Homemade Window Cleaners
Homemade window cleaners have several key advantages over commercial glass cleaners.

For starters, commercial solutions are loaded with all kinds of toxic chemicals that are not only potentially unsafe for humans but also harm the environment. By making a DIY window cleaner without a single unpronounceable ingredient, you’ll keep harmful chemicals out of your nostrils, lungs, and the atmosphere.
If your windows could talk, they’d tell you they love that you’re using a more environmentally friendly cleaner. Years of washing windows with commercial cleaners can leave glass with a nasty and unsightly film. This residue comes off easily with dish detergent, which happens to be an ingredient in most DIY window cleaners.
Homemade window cleaners reduce ecologically devastating bottle production because fewer containers are needed. Fewer greenhouse gases are spewed into the atmosphere because there aren’t as many trucks transporting cleaning solutions to stores.
Because you probably have all the ingredients you need to make your own DIY window cleaner sitting right in your pantry at this very moment, it’s cheap and easy to make. Typically, it costs approximately one-third of most store-bought cleaners.
You can adjust the recipe as needed, giving you total control over the quality and ratio of ingredients. This means you can play around with it, so it’s precisely what you want.
How to Use Homemade Window Cleaner
Step One: Gather Your Supplies
Cleaning the inside and outside of each window in your residence twice yearly can help prevent dirt, dust, and mineral deposits from building up. Here’s what you’ll need for the job:
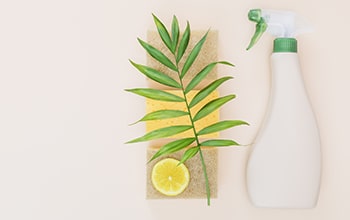
- White vinegar or lemon juice
- Liquid dish soap
- Essential oils (optional)
- Spray bottle
- Distilled or tap water
White vinegar is the primary ingredient in most homemade window cleaners. The main reason why white vinegar is such an excellent glass cleaner is that it contains acetic acid, which reacts with the molecules in grime and changes their makeup so water can dissolve them. This compound gives white vinegar its characteristic pungent odor and flavor.
White vinegar has enough acidity to cut through grease and dirt without damaging glass surfaces. However, you can’t use it on granite, marble, slate, or tile because it could corrode these kinds of surfaces.
White vinegar is terrific at dissolving things like dead bugs and bird droppings and is fairly good at killing bacteria. However, white vinegar isn’t a substitute for sanitizing cleaners that remove 99.9% of disease-causing bacteria and viruses, which is the EPA standard for products labeled as sanitizers.
Step Two: Mix Ingredients
Don’t reuse commercial cleaning bottles to store your cleaner. Instead, buy a brand-new bottle for your DIY glass solution. Vinegar could react with residual chemicals left in an old spray bottle. By using a brand-new bottle, you won’t have to worry about dangerous reactions.
After mixing a batch of window cleaner, label the spray bottle. Keep it in a cool dark place away from heat and direct sunlight. If you’re going to use essential oils, use a glass bottle. Essential oils can degrade some types of plastics.
In a spray bottle, combine ¼ cup of white vinegar with ½ teaspoon of liquid dish soap. If you don’t have white vinegar, use lemon juice.
The acid in lemon juice can break down grime on glass surfaces as effectively as white vinegar. However, the citric acid in lemon juice is a bit stronger than the acetic acid found in vinegar.
Dilute the solution with two cups of water. Then, shake the bottle vigorously to mix the ingredients.

Step Three: Add Essential Oil (Optional)
Because vinegar’s pungent odor might not be your cup of tea, you might want to mask it by adding 10 to 15 drops of your favorite essential oil. Interestingly, essential oils aren’t just pleasantly scented—many of them have cleansing properties.
For example, tea tree essential oil has antiseptic, antibacterial, and antifungal characteristics. Mixing essential oils into your homemade window cleaner also inhibits mildew and mold growth.
Step Five: Clean the Window
If your windows are especially filthy, use a clean microfiber cloth to remove the dirt before applying window cleaner. Because window frames and tracks can get dirtier than the glass, cleaning these areas first keeps grime from smearing all over the place.
Spray the window with the solution. Let it sit for a couple of minutes to give it a chance to loosen the dirt. Wipe the solution away with a clean, lint-free cloth.
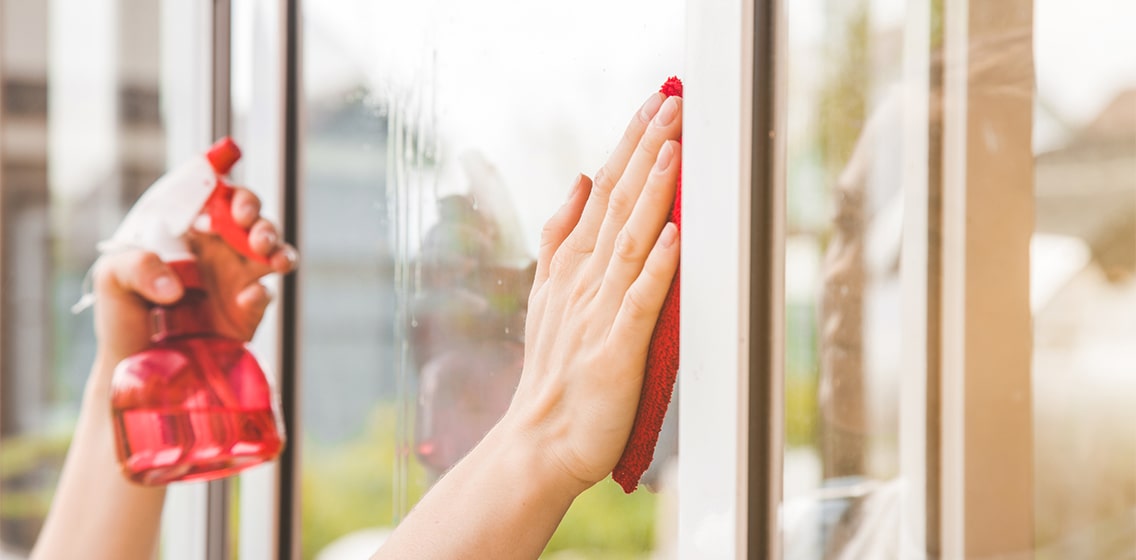
The cloth needs to be clean because it could leave streaks if there’s laundry soap or another kind of residue on it. Go top to bottom as you wipe, which helps prevent drips and streaks.
You can also use a squeegee to clean your windows, including your inside ones. If you want to use a squeegee, squeeze out most of the soapy water to eliminate excessive dripping, which helps protect varnished woodwork.
Make sure to wipe up excess water along the bottom edge of the window. If you’re cleaning both sides of a glass pane, work the squeegee in opposite directions on each side. Using a top-to-bottom approach on the outside and a left-to-right method on the inside helps you see which side has streaks.
Window Cleaning Tips
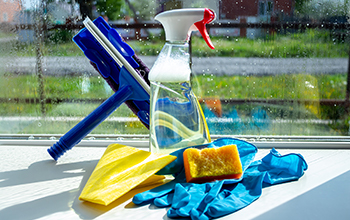
Clean Only on Overcast Days
For optimal results, clean your windows on an overcast day with little to no wind. Glass warmed by the sun can cause glass cleaner to evaporate so quickly that it leaves streaks.
Add a Smidgeon of Cornstarch
A vinegar/cornstarch combo is the perfect one-two punch for clobbering dirt and grime.
If it’s been a while since you’ve washed your windows, or they’re covered in excessive grime, add a small pinch of cornstarch to your window cleaner. Cornstarch granules are a gentle abrasive that’s perfect for cleaning dirty windows.
Cornstarch is particularly good on outside windows because you can use a hose to rinse away the residue.
Use a Spray Bottle, Not a Bucket
Many professional window cleaners use a bucket of water with a few drops of dish soap. However, they periodically need to dump and refill their buckets because dirt that gets into the mixture leaves streaks.
That’s why it’s best to use a spray bottle and a cloth or squeegee when cleaning your windows at home.
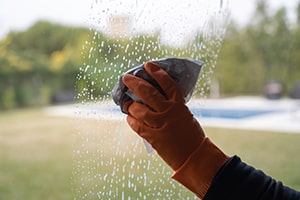
Try Cleaning with Newspapers or Coffee Filters
For many people, newspapers are the secret to streak-free windows. That’s because newspapers are made of dense fibers that don’t scratch or leave lint. If you want to experience this for yourself, crinkle a newspaper sheet and use it to wipe away the cleaning solution from the glass.
Coffee filters are also terrific for cleaning glass. In fact, this inexpensive, tear-resistant, lint-free item found in most people’s kitchens is ideal for window cleaning.
Final Thoughts
DIY window cleaners save you tons of cash over time and are better for the environment and your health. Unlike commercial cleaners full of toxic ingredients, these all-natural cleaning solutions won’t get into your nostrils and lungs, where they can cause all kinds of damage.
If you want even more help getting your windows clean, consider getting a window cleaning robot. Because these devices autonomously clean windows while you sit back and relax, they save you time and energy.
Check out our best window cleaning robot reviews to learn more!

Mop Tips & Tricks
