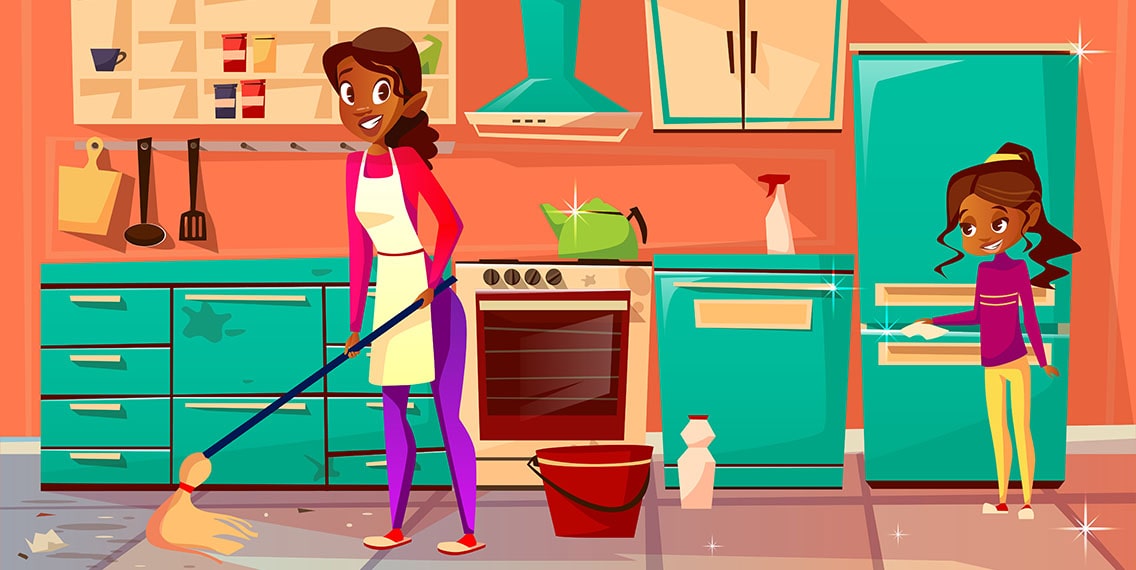
Here’s our article on how to clean house quickly and efficiently, with step-by-step instructions!
Cleaning can be an exhausting undertaking if you’re disorganized and don’t have the right supplies. However, with a little bit of preparation, you can make it less time-intensive and more enjoyable. Keep in mind that if you are cleaning before a move, professional cleaners or professional movers may be able to help you clean and declutter even more quickly and efficiently.
Here are 21 tips that can help you do just that:
1. Systemize Your Cleaning Routine
When it’s time to spiff up your home, try to have a clear game plan in mind. This means a strategy that allows you to tackle all the cleaning you need to do in a systematic, organized way. Some people say you’ll be so much more efficient if you choose one task (such as mopping, dusting, or vacuuming) and do this same task in every room.
Others say it’s better to zone clean, which is tidying up one room before moving on to another one. Which method you choose is totally up to you. Experiment with both, and see which one works the best. Once you find which one is the optimal strategy for you, stick to this routine and refine it.
2. Clean as You Go
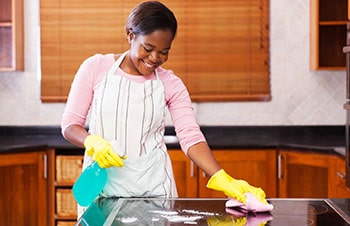
One of the best ways to keep your home sparkling clean is to proactively clean as you go. Doing this helps you avoid time-consuming large messes. For example, in the kitchen, wipe down fridge spills as they happen and wash your dishes every day.
Clean off your stove and countertops with an all-purpose product after every time you use them. That’s because if you leave greasy splatters too long, they tend to get baked on. However, if your dishes do have baked-on crud or a greasy residue, use a nonscratch scrubbing sponge along with a gentle powder cleaner to take care of it.
Make sure you frequently clean the outsides of small kitchen appliances like coffee makers, toasters, and blenders with an all-purpose cleaner. Take off all removable parts and wash them by hand or in the dishwasher for a deeper clean.
Make putting away your clothes part of your laundry ritual. This beats having baskets full of clean clothes sitting around for days on end.
3. Keep Your Bedroom Clean

By making your bed every day, your bedroom will always look pulled together. That’s a nice thing to come home to after a busy day at the office. Besides, getting into a made bed feels so darn good. Making your bed also helps keep hair, dander, and drool off your sheets if you have pets.
Take all mugs, glasses, and other kitchenware out of the bedroom every morning. This will prevent dirty dishes from littering your bedroom.
Some people like to let their bed linens air out during the day. If you’re one of these individuals, make the bed with the sheets exposed by folding the blanket and top sheet halfway down towards the foot of the bed.
By getting a bedside table that has a drawer, you’ll be able to stash small items like hand cream and lip balm into it. That way, you’re not cluttering up your bedroom with junk.
4. Keep Tools and Supplies Organized
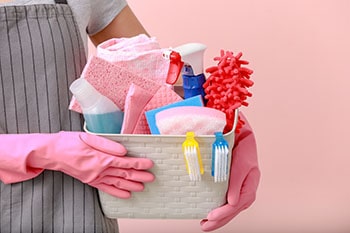
By keeping all your cleaning supplies and tools in a caddy, it’ll be easier to get all your cleaning done. That way, you won’t waste precious time looking for what you need. Nor will you have to worry about finding them when it’s time to clean again.
You can also wear a carpenter’s tool belt or an apron and fill the pockets with your tools. Because this might be challenging to do with large bottles of cleaning fluid, pour the cleansers into small reusable spray bottles. That way, they’ll be easy to carry.
Because Magic Erasers will often remove stains when nothing else will always keep a few in your cleaning caddy. They work on almost any surface, including tile, laminate, and wood.
5. Clear Out Clutter Beforehand
Before you even start cleaning, clear the clutter from every room. As you pick the junk up, decide where it will go, whether that’s finding a proper place for it in your home, throwing it in the trash, or donating it to Goodwill. Organizing your clutter helps cleaning go so much faster.
It also removes one of the biggest psychological obstacles for people who procrastinate when it comes to cleaning. This obstacle is having too much stuff lying around the house.
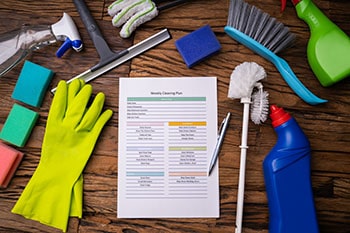
6. Create a Cleaning Schedule
By dividing your cleaning tasks into daily, weekly, and monthly responsibilities, you won’t have to try to cram in an entire deep cleaning before the relatives come over. For example, you could wipe down and disinfect surfaces in high-traffic areas daily. Weekly chores would be things like washing sheets and towels, vacuuming and mopping floors, dusting furniture, and cleaning showers and tubs.
Taking inventory of the goods in your pantry, cleaning supplies, and toiletry areas to ensure you have plenty and that nothing is expired could be a monthly responsibility. Once you decide the timeframe for accomplishing a specific task, create a master cleaning schedule and stick to it.
Designate specific cleaning activities for different days. For instance, cleaning bathrooms on Mondays and Fridays, doing windows on Tuesdays and Saturdays and dusting on Thursdays. Post it in a conspicuous place so all family members can see it.
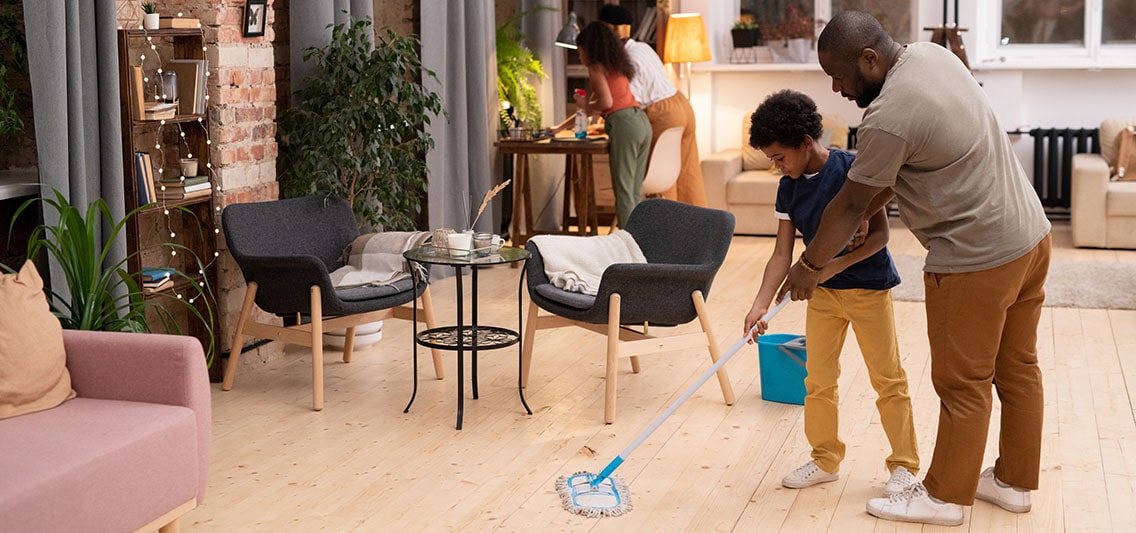
A fun and efficient way to get your cleaning done is to turn it into a group activity. Schedule a time to do it with your family, and assign each person a task to do. To make cleaning even more enjoyable, turn on some music that’ll put you in the mood.
7. Have a Plan of Attack
Some cleaning experts say that when cleaning, the best plan of attack is top-to-bottom and left-to-right. Cleaning from left to right ensures you cover the entire room instead of madly flitting from place to place.
They also say that for each task you must do, begin at the highest point in the room. For example, if you’re dusting, start with the highest shelves.
Then, move from left to right across the room. By doing it this way, you won’t accidentally knock dust onto already cleaned lower shelves.Most people’s cleaning method is to see something and immediately start to clean it. Then they look up and see something else and clean that. Unfortunately, this haphazard way of cleaning causes dirt to fall down on the things they just spiffed up.
8. Use the Right Dusting Techniques
Before you begin dusting, turn off any ceiling fans, as they will only blow the dust around. By dusting with microfiber cloths, you’ll decrease the amount of allergens in your home, thus boosting the air quality. To eradicate fingerprints, dampen a microfiber cloth with warm water.

For hard-to-reach areas (such as blinds and upper shelves), tie a microfiber cloth to the end of a mop or broom. You can use a lint roller to clean lampshades.
Use a vacuum cleaner to suck away all the dust and dirt from furniture fabric. An old-fashioned cleaning tool that’s making somewhat of a comeback is the feather duster. Use it to brush the dust off of dresser tops or bedside tables. If you’re planning on doing any vacuuming, dust first, then vacuum.
If you need to remove cobwebs, use a dampened cloth tied to a mop end. To clean slatted blinds:
- Pull the string to close them one way.
- Dust the parts of the blind that this exposes.
- Close them the other way and clean this part.
This is much more effective than trying to do one slat at a time.
9. Clean Mirrors and Glass the Streak-Free Way
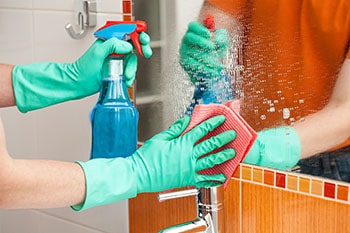
Buy yourself a professional-grade window squeegee if you want better results than you can get with paper towels and Windex. Place a drop of dish soap in a gallon of water, and then apply this solution to the window with a cloth. Next, squeegee the water off.
Move from top to bottom and wipe the blade each time at the bottom. This should result in beautifully streak-free windows.
If you don’t want to use a squeegee, a microfiber cloth and glass cleaner is the next best method. You won’t leave streaks if you use one damp microfiber cloth followed by a dry cloth. When wiping with the rag, use horizontal strokes and move from top to bottom. Don’t rub in circles because this will leave streaks.
It will be easier to notice and rectify streaks if you wipe in one direction on inside windows and another on outside ones. For more on how to clean windows, read our article.
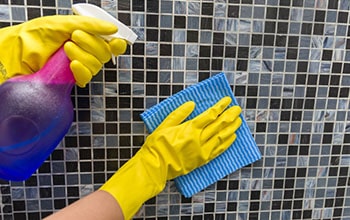
10. Make Sure You Disinfect Surfaces
Ensure that you wipe down the places that people touch with their fingers. These are things like light switches, phones, and TV remotes, which are the areas most people tend to forget. That’s unfortunate because these places are among the most germ-laden places in your entire home.
Surfaces that are particularly prone to picking up germs should be wiped down with a nontoxic disinfectant solution. You can make your own by mixing ¼ to ½ cup of white vinegar with a cup of water.
Because people often touch the faucet and other parts of the sink with raw-food-covered hands, you should give this area of your house some extra attention. Use an all-purpose cleaner to wipe your sink free from bacteria and food particles.
11. Use Effective Grease Fighting Methods
To cut grease on kitchen surfaces, buy a cleaner with orange oil or a standard grease-cutting dishwashing detergent. The detergent will cut through the grease just like it does with dishes. Mix one tablespoon of liquid detergent with a gallon of warm water.
Test the solution in an inconspicuous area to ensure it won’t damage or discolor finishes. For tougher stains, mix baking soda with water and lightly scrub the area with a cloth.
When cleaning walls, apply a tiny amount of fabric softener to a sponge if you come across sticky patches. Rub it on the area and let it sit for 10 minutes. Then, rinse it with a sponge and clean water.
12. Vacuum in Rows
Vacuum the entire length of a room in a straight row. Then, move over and start again at the front of the room. This trick makes vacuuming faster and more efficient. Put the cord over your shoulder, so you’re not fighting it. It’s not essential to vacuum every square inch. Keep moving — you’ll hit the places you missed next week.
Check out which robot vacuum cleaners we chose as the best if you want to free yourself from manual vacuuming altogether.
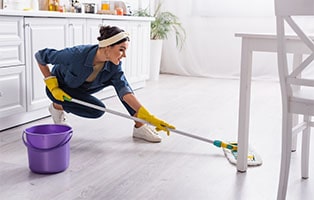
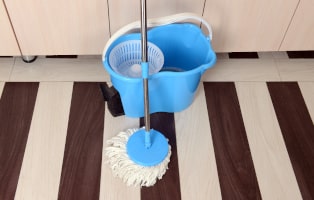
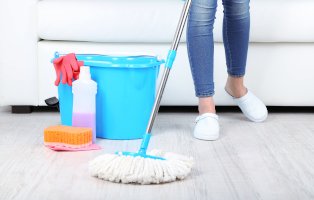
13. Use an Efficient Mopping Strategy
Do your sweeping before you mop. Start mopping from the furthest room corner and move back towards the doorway. That way, you won’t literally mop yourself into a corner. Rinse the mop every time you finish a 4′ x 4′ area.
To make mopping even easier, think about buying a steam cleaner. You can also check out our choices for the best robot mops on the market.
14. Clean Badly Scorched Pots with Baking Soda
Cover the burned area with a heavy sprinkling of baking soda if you have a badly scorched pot in dire need of scrubbing. Pour in enough boiling water to fill the pot a third to halfway up. When the water is cool to the touch, use a sponge and scrub away the scorched areas. Dump out the water and wash the pot with hot soapy water.
15. Regularly Clean Your Sponges
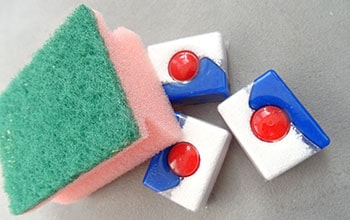
Ensure that you regularly clean your sponges to get rid of bacteria. You can do this by either running them through the dishwasher or your microwave.
If using a microwave, check to see that the sponge doesn’t have any metal in it. Then, get the sponge soaking wet and microwave it for two minutes. Exercise extreme caution when removing it, as it will be pretty hot.
If your sponge holder has bacterial or mold buildup, use a toothbrush dipped in white vinegar to scrub it away. Then, take the sponge caddy and wash it thoroughly with hot, soapy water. Alternatively, you can run it through your dishwasher.
16. Check Your Fridge When Emptying the Trash

A super-easy way to keep your fridge clean is by adding a simple ritual to your daily cleaning routine. Whenever you need to take out the kitchen trash, open the refrigerator and carefully survey its contents. If there are leftovers that have gone bad, dump them. If there’s food on the verge of going bad but not quite there yet, put it on the menu for that day.
If there are sticky spills in the fridge, soak a sponge in hot water and wring it out, so it’s not dripping. Press it onto the gooey spot until it starts to lose its heat. If the mess has sufficiently loosened up, wipe it away. However, if it’s still clinging to the fridge surface, repeat this method until it loosens. Then, you can wipe it clean.
17. Use The Right Code When Cleaning Couches
Upholstered furniture typically has a code that can help you determine which product you should use to clean it. You’ll usually find the code on the care tag underneath the furniture piece.
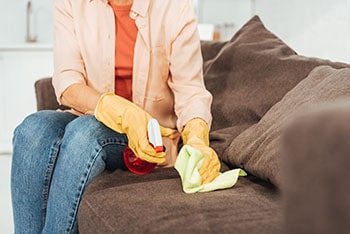
Here’s how to interpret the codes:
- W (wet cleaning only): You can clean this kind of furniture by diluting dish soap you put on a rag. Or you can use an upholstery cleaner with an upholstery cleaning machine.
- S (dry solvent cleaning only): Use a specialized upholstery cleaner for these fabrics, as water-based cleaners can cause damage.
- SW (dry solvent or wet cleaning): Use either wet or dry solvent methods.
- X (Professional cleaning only): This means you’ll need to find a professional to do it for you.
18. Try Lemon Juice to Clean Rust Stains
Use lemon juice to clean rust stains on porches, garage floors, patios, and driveways. The acid in the juice will dissolve the rust. Cut the lemon in half, squeeze the juice on the stain, and let it soak for approximately 10 minutes. For stains that have been there a long time, you might want to use a stiff bristle brush.
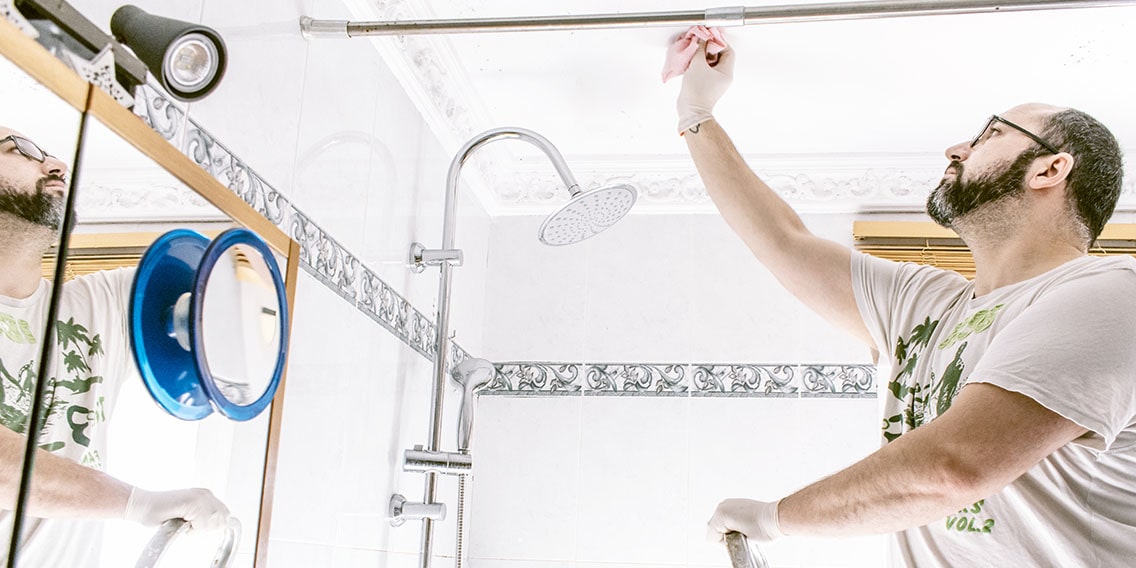
19. Use Proper Methods To Get Rid of Bathroom Mold and Scum
Mold and mildew plague bathrooms that aren’t well ventilated because the water tends to stay on the walls after you finish showering. This creates a perfect breeding ground for fungal bathroom infestations.
To eradicate this icky stuff, spray it liberally with hydrogen peroxide and let it sit for five minutes or so before wiping it down. To prevent mold from returning, use a fan whenever you shower. After you’re done showering, squeegee the water off the tile walls and shower door.
Heat distilled white vinegar and wipe on doors to get rid of soap scum. Wait 30 minutes, then scrub with a non-scratch pad that has baking soda on it. Another method is to wet a dryer sheet and clean the glass in a circular motion.
You’ll end up with a milky white film, which you can wipe away using water and a squeegee, or paper towels and a microfiber cloth. You don’t even need to waste a brand-new dryer sheet to do this — just use an old one.
To keep the shower cleaner longer, switch to glycerin soap. That’s because animal fat and talc in regular soap tends to leave a residue. If you need to clean moldy tile or grout, apply a mold- and mildew-eliminating product. Let it penetrate the grout before you scrub the surface with a stiff-bristled scrub brush.
20. Use Vinegar To Get Rid of Mineral Deposits
If hard water mineral deposits have stained your plumbing fixtures, don’t use a bristle brush or pads to clean them. That’s because they can scratch the faucet. Instead, pour some white vinegar on a clean cloth and wipe the faucets. This will help them to sparkle like new again.
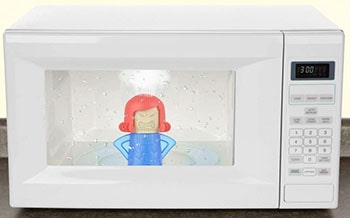
21. Use the Microwave Cleaning Trick
Baked on food in a microwave can be challenging to remove. One trick is to place a coffee cup full of water in the microwave and heat it until it’s boiling hot. This creates moisture that loosens up anything on the top, sides, or bottom of the microwave. Once it loosens, take a damp cloth and wipe the surfaces clean.
Final Thoughts
By using these 21 tips, you can keep your home blessedly free from dirt, debris, and clutter, while decreasing the amount of time you’ll need to spend on cleaning tasks. Which tip did you find most helpful? Let us know in the comments!

Mop Tips & Tricks