Most people think they know how to mop a floor. However, many people miss important steps, resulting in costly mistakes.
Mopping your floors can be a tedious, time-consuming task. However, it needs to be done if you want your floors to be sparkling clean, instead of dirty and dingy.
You should follow a specific methodology if you want to do it in the most efficient way possible. If your floors seem dirty right after you clean them, it’s safe to say you’re not following this procedure. The tips contained in this article will help ensure that you have squeaky clean floors every time.
How Often to Clean a Floor
While a thorough mopping is crucial to keeping floors clean, you’ll also need to sweep them to maintain their look and finish. That’s because sweeping removes dirt and grit that can irrevocably damage floors.
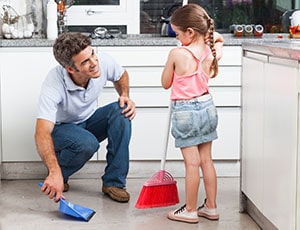
Place doormats at every entrance to cut down on the amount of dirt people track in. To a certain extent, this will mitigate the problem so you don’t have to sweep as much.
While floors in high-traffic places such as dining areas, kitchens, bathrooms, entryways, and hallways should be mopped at least once a week, do them whenever they look like they need it. If you have a small family, this might be every other week. If you have children and fur babies, you might have to do it once a week or more.
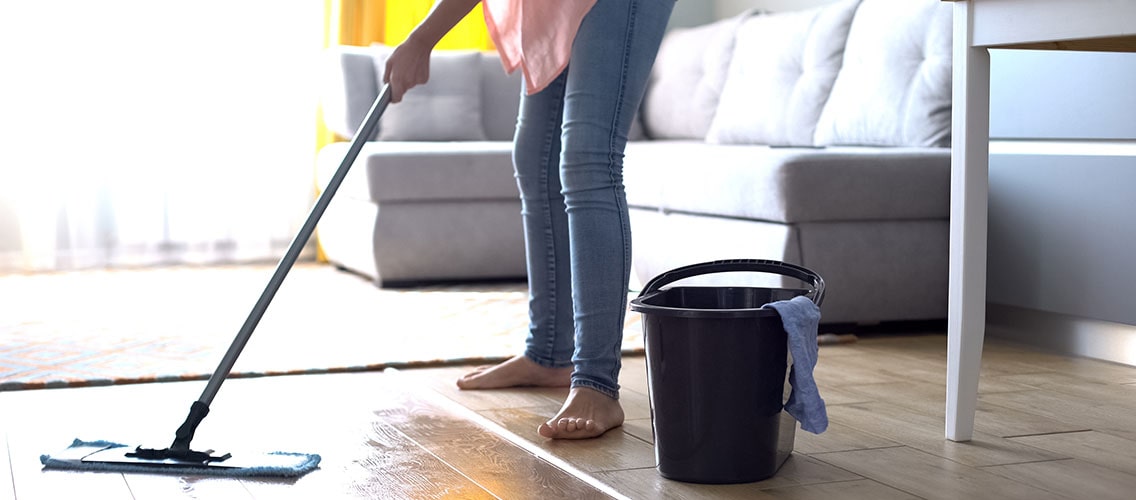
The Two Bucket Method
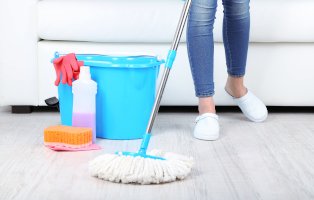
While most people think they know how to mop a floor, a mistake many make is not using a second bucket to rinse their mop. The preferable method is to use two different buckets—one for a solution of water and detergent and the other for clean rinse water. You can also use a sink basin for rinsing.
Using two buckets makes the process more hygienic because you can wring out the water without contaminating the detergent bucket with whatever gunk you happened to pick up. When the water in either bucket gets dirty, empty the bucket in your toilet—not in your sink.
What Kind of Mop Should I Get?
A string mop, otherwise known as a “yacht mop,” is what most people visualize when the word “mop” pops into their brain. However, you might want to get a sponge mop instead.
String mops absorb large quantities of water, which requires several rounds of wringing. This can get exhausting after a while. Sponge mops hold less water, making them ideal for floors that can get damaged by heavy water use, such as laminate and hardwood.
If you have a highly textured floor (such as some ceramic tile surfaces), you’ll probably want a string mop. If your floor is smoother, a sponge mop is a better bet. Mop buckets with built-in wringers work great if you’re using a string mop. On the other hand, any bucket with a handle will work if you’re using a sponge mop.
A microfiber mop, with its thousand-plus fibers per square inch, is also an excellent choice. However, be sure to get the right kind of microfiber pad for the floor you have. Hardwood and laminate floors clean easily with a short loop microfiber. At the same time, tile floors need longer fibers to reach down into the grout.
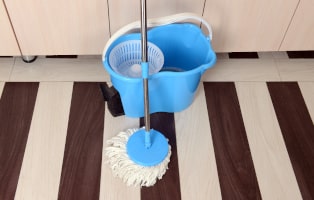
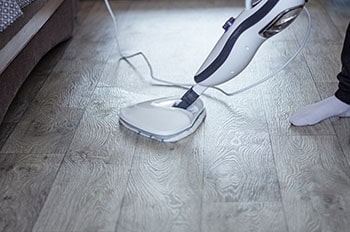
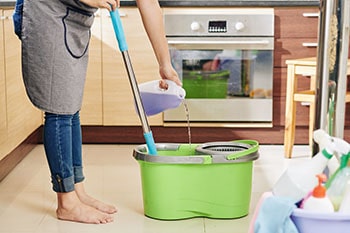
If you’re looking to get a microfiber mop, you might want to get a spin mop. To make housework even easier, consider buying a steam mop.
Equipment and Materials Needed
- Vacuum cleaner or broom and dustpan
- Mop
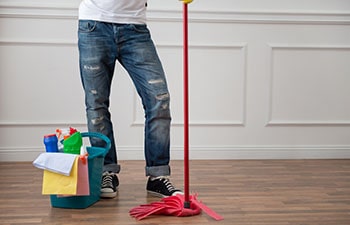
- Two buckets
- Rags, paper towels, or sponges
- Detergent
How To Mop A Floor
1. Choose a Cleaner
Choose a detergent specifically designed for your type of floor. It’s best to avoid “mop and shine” products, as these typically lead to ugly yellow buildups over time.
An excellent cleaning solution to use with string mops is a quick squirt of dish detergent in a bucket of water. Dish detergent powerfully cuts through nasty grease and grime. Just don’t use too much, or it’ll make your floors look dull. If you have a microfiber mop, you only need a tiny amount of your favorite cleaning solution.
If your floors are dingy, no matter how much you clean them, it could be because you’re not vacuuming or sweeping them first. Mopping a floor encrusted in dirt, dust, and hair only spreads the filth around.
3. Fill the Buckets
Fill each bucket with hot water because water at this temperature cleans better and more quickly than cold does. Don’t succumb to the alluring temptation of doubling up on the detergent amount.
Too much detergent is counterproductive. All too often, people equate more soap with cleaner floors. However, too many suds will only leave behind a sticky residue, trapping grime and making your floors look disgusting.
4. Get the Mop Wet
Immerse the mop head in the bucket, and wring out as much water as possible. The mop should be damp — not soaking wet. Excessive amounts of water can damage a floor and extend drying time. In some cases (as with laminates, linoleum, and hardwood floors), the mop needs to be wrung out several times until it’s almost dry.
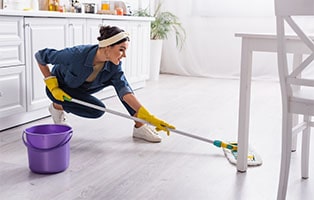
5. Begin Mopping

Just as you would do if you were painting a floor, begin mopping in one corner of a room and work your way back towards an exit. That way, you don’t step in an area you just cleaned and won’t get muddy footprints everywhere. Pay close attention to your mopping pattern. For hardwood floors, mop in the wood grain’s direction. For textured floors, swab in small figure eights.
If your floor is only lightly soiled, mopping once with a slightly damp mop might be sufficient. For heavily soiled floors, you’ll probably need to clean it twice. The first time, wet the entire floor.
Don’t flood it—just get it good and wet. This will loosen dirt and any sticky residue.
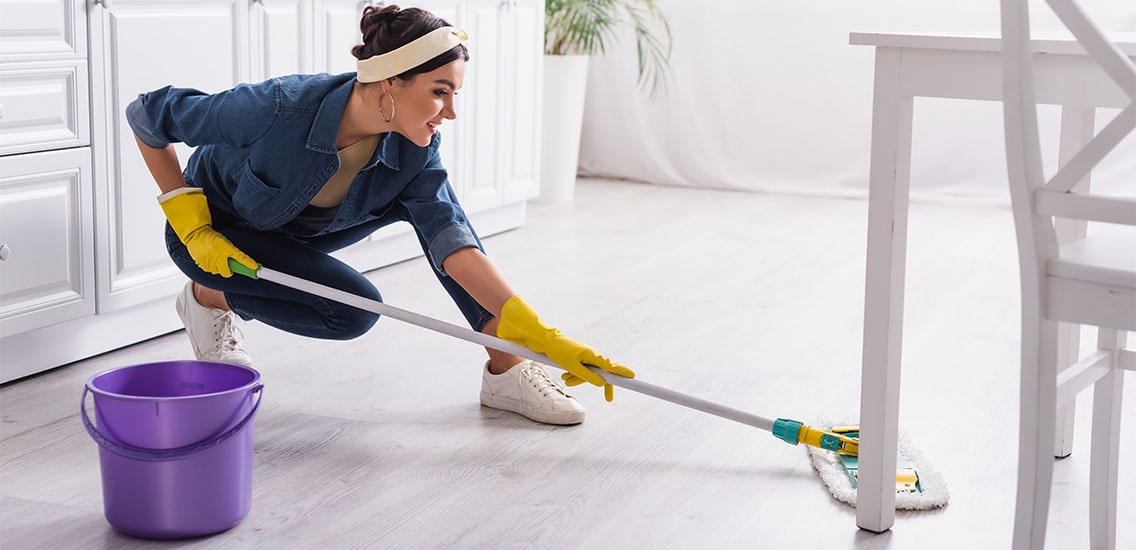
If any stubborn stains remain, remove them with a scrubber before rinsing. You might need to squat down and scrub the floor with a sponge for hard-to-reach edges and corners. Quickly rub back and forth over the spot. Apply downward pressure to get rid of the grime.
6. Rinse Mopped Areas
Thoroughly rinse your mop after scrubbing each floor section. Dunk the mop in and out of the water a few times, then thoroughly wring as much filthy water from the mop head as possible.
Repeat this process until your work is done. As you proceed, keep a close eye on both the wash and rinse water buckets. When they become dirty, empty and refill them. If you think it needs it, go over the floor once more using only rinse water.
8. Let Everything Dry
To ensure a germ-free experience the next time you clean, disinfect the mop head by soaking it in a mixture of bleach and water. Wait 10 minutes, then rinse. Wring out the excess water.
Hang up your mop, so the air has a chance to dry it out. Let your floor dry thoroughly before walking on it.
Special Treatment for Special Floors
If your floors are sealed with polyurethane, use a mild pH-neutral soap with water. Avoid cleaning products with acidic additives because they can damage wood.
With vinyl, it’s best to use a solution of apple cider vinegar and water. Because of its acidity, vinegar helps remove dirt without leaving a buildup. What’s more, it also disinfects.
Use white vinegar and water on ceramic tile floors. This will create an effective odor-eliminating cleaner for this type of floor surface. What’s more, it’s nontoxic, so it’s safe to use around children and pets.
For stone tile, mop with a pH-neutral cleaner that won’t react with the minerals in the stone. You shouldn’t use bleach, vinegar, or ammonia. That’s because even small amounts of these substances could damage the seal on stone tile floors.
Final Thoughts
So, there you have it—a few tips to help make mopping floors more effective. Do you have any more to add? Let us know in the comments!
Lastly, you might want to check out which robot mops we recommend.

Mop Tips & Tricks