Preparing your power washer for winter isn’t difficult, but it’s necessary to keep it running smoothly.
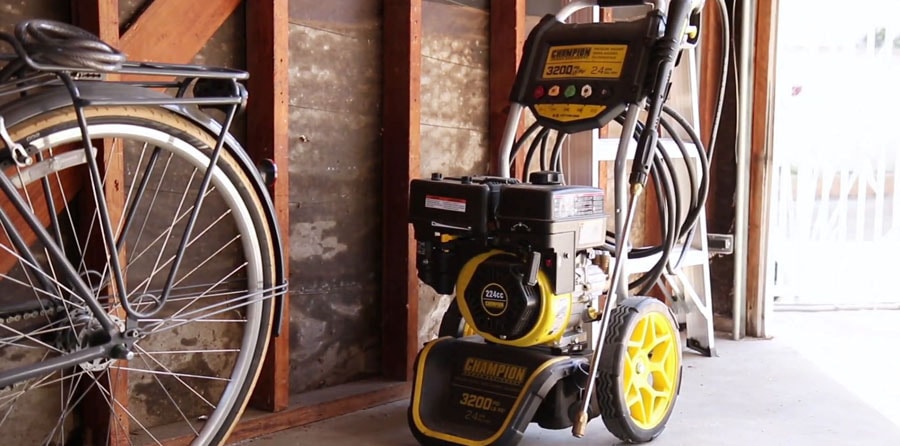
Part of owning a pressure washer is knowing how to store it properly in the off-season. For many of us, that usually means winter. For others in more temperate climates, that can mean any long period of several weeks when you won’t be using it.
Many pressure washer owners groan about having to do this, and sadly, many ignore it altogether. But all it takes is a few minutes, and your pressure washer will be ready for a long rest and prepped to get back to cleaning when the time comes.
But why bother with winterizing your pressure washer in the first place?
Even if you’re storing your pressure washer in a garage or shed, it should be winterized if you’re not using it for several weeks. Garages and sheds usually aren’t insulated enough to protect against freezing temperatures.
Even if you store a pressure washer in a basement or attached garage where temperatures don’t fall below freezing, a prolonged period of inactivity can also do damage.
Those long storage times and cold temperatures can do a number on the internal seals, leading to dry rot and cracking in the pump system. In the fuel system, gasoline can go stale in roughly 30 days. The ethanol in the fuel leads to deterioration that causes rust, corrosion, and buildup that can clog the fuel lines. Any water left in the machine can freeze, then expand, and bust water hoses. It can even grow mold and mildew, which eats away at the seals and clogs lines.
And next thing you know, you have a leaky pressure washer that ends up in the garbage bin. Warranties won’t cover pressure washers that have been damaged due to a lack of maintenance. That’s like throwing money away, and for many pressure washers, that’s several hundred dollars.
Both gas and electric pressure washers should be winterized, and each has a slightly different approach, with gas being a little more time consuming.
How to winterize a gas pressure washer in 5 easy steps
Always follow the directions in your pressure washer owner’s manual for specific steps.
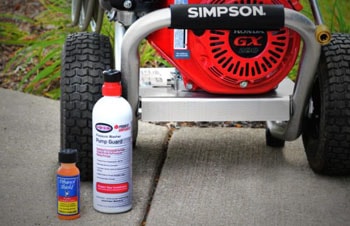
- Purchase fuel stabilizer and antifreeze (pump saver). Consult your owner’s manual for recommended brands.
- Add fuel stabilizer to the fuel tank. Run the engine for about 2 minutes so it gets circulated through the system.
- Fill a clean bucket with tap water.
- Attach a garden hose to the washer as you normally do. Put the detergent feed hose in the water bucket. Turn the pressure washer on. Pull the trigger with a low pressure nozzle to let it run until all detergent is flushed from the system. Turn off the water supply from the garden hose. Pull the trigger again to remove the rest of the water from the lines.
- Disconnect all hoses and drain all water from hoses, gun, and extension. Add pump saver to the pump inlet according to manufacturer’s directions on the can. Cover and store the washer in a clean, dry area.
Helpful tips:
- Engage the trigger lock on the spray gun to keep the valves open so it will fully drain.
- Wipe off washer hoses with a rag after you drain them to remove water that may freeze or grow mildew.
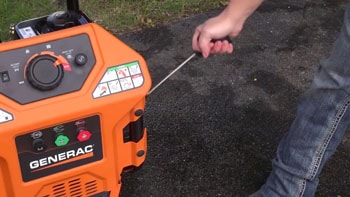
- Pull starter cord about 6 times to remove any residual water from the pump.
- Always follow your owner’s manual recommendations for fuel, but try to use ethanol-free fuel. Many gas companies combine ethanol with regular gas, so you can’t always tell if it has ethanol or not. However, it should be labeled as such. If using regular fuel is necessary, try using 93 octane (premium), as it should have the least ethanol.
- Add fuel stabilizer at the first startup in spring to keep the fuel flowing smoothly all season.
Winterize your electric pressure washer in 3 steps
With no fuel system to worry about, winterizing an electric pressure washer is a little faster. You will need access to clean, hot water and a can or bottle of pump saver.
- Fill a gallon container with hot water. Depending on your machine, either fill the onboard detergent tanks with hot water, or stick the detergent siphon hose into the hot water.
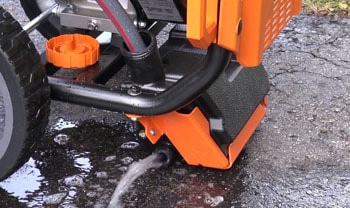
- Attach a garden hose to the inlet and turn on the tap. Turn the pressure washer on. Squeeze the trigger, and run for up to 2 minutes to flush residual detergent from the lines. Disconnect the garden hose and pull the trigger again to remove remaining water from the system. Remove the high pressure hose, disconnect the trigger gun and wand, and let them drain.
- Add pump saver antifreeze to the pump system per manufacturer’s directions and store the washer in a safe, dry area.
Helpful tips:
- After all hoses have been removed, turn the pressure washer on for about 10 seconds while rocking the machine back and forth. This will remove any residual water from the system.
- Since it’s so lightweight, and with no gas to worry about, try to store the pressure washer inside your house in a basement or attached garage, which will further protect against any freeze damage.
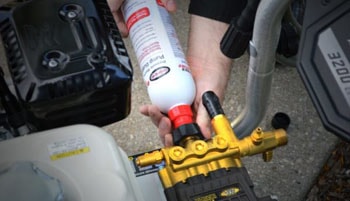
How to use pump saver
Specific directions will depend on which brand you use, but all of them require you to attach the bottle to the water inlet (where you attach the garden hose). Generally, you will squeeze the bottle (or trigger on a can). Pull the starter cord about 4 or 5 times (using about ⅓ of the bottle or can). This pulls the pump saver throughout the pump system until you see it flowing from the water outlet.
For an electric pressure washer, just keep squeezing the bottle or trigger until the fluid flows from the outlet.
Don’t forget the cover!
Storage covers protect your pressure washer from dust, bugs, spider webs, moisture, mice, and rust. If you must keep your pressure washer outside for whatever reason, you definitely need a cover to protect from the sun and precipitation, not to mention bird poop.
Covers made of cloth (often canvas or polyester) with water-resistant coating like polyethylene allow them to breathe while protecting from moisture damage. They can be water repelling, water resistant, or waterproof. Of course, if you’re storing outdoors, the more waterproof the cover is, the better.
Many covers are a one-size-fits-all deal, but it won’t hurt to take measurements just to compare. You want a snug enough fit without it leaving anything exposed. In a pinch, a tarp or BBQ grill cover can work with a few adjustments.
Pressure Washer Tips & Tricks
